Radxa X4 N100 Cluster Build Log - Part 8: Rack Mount
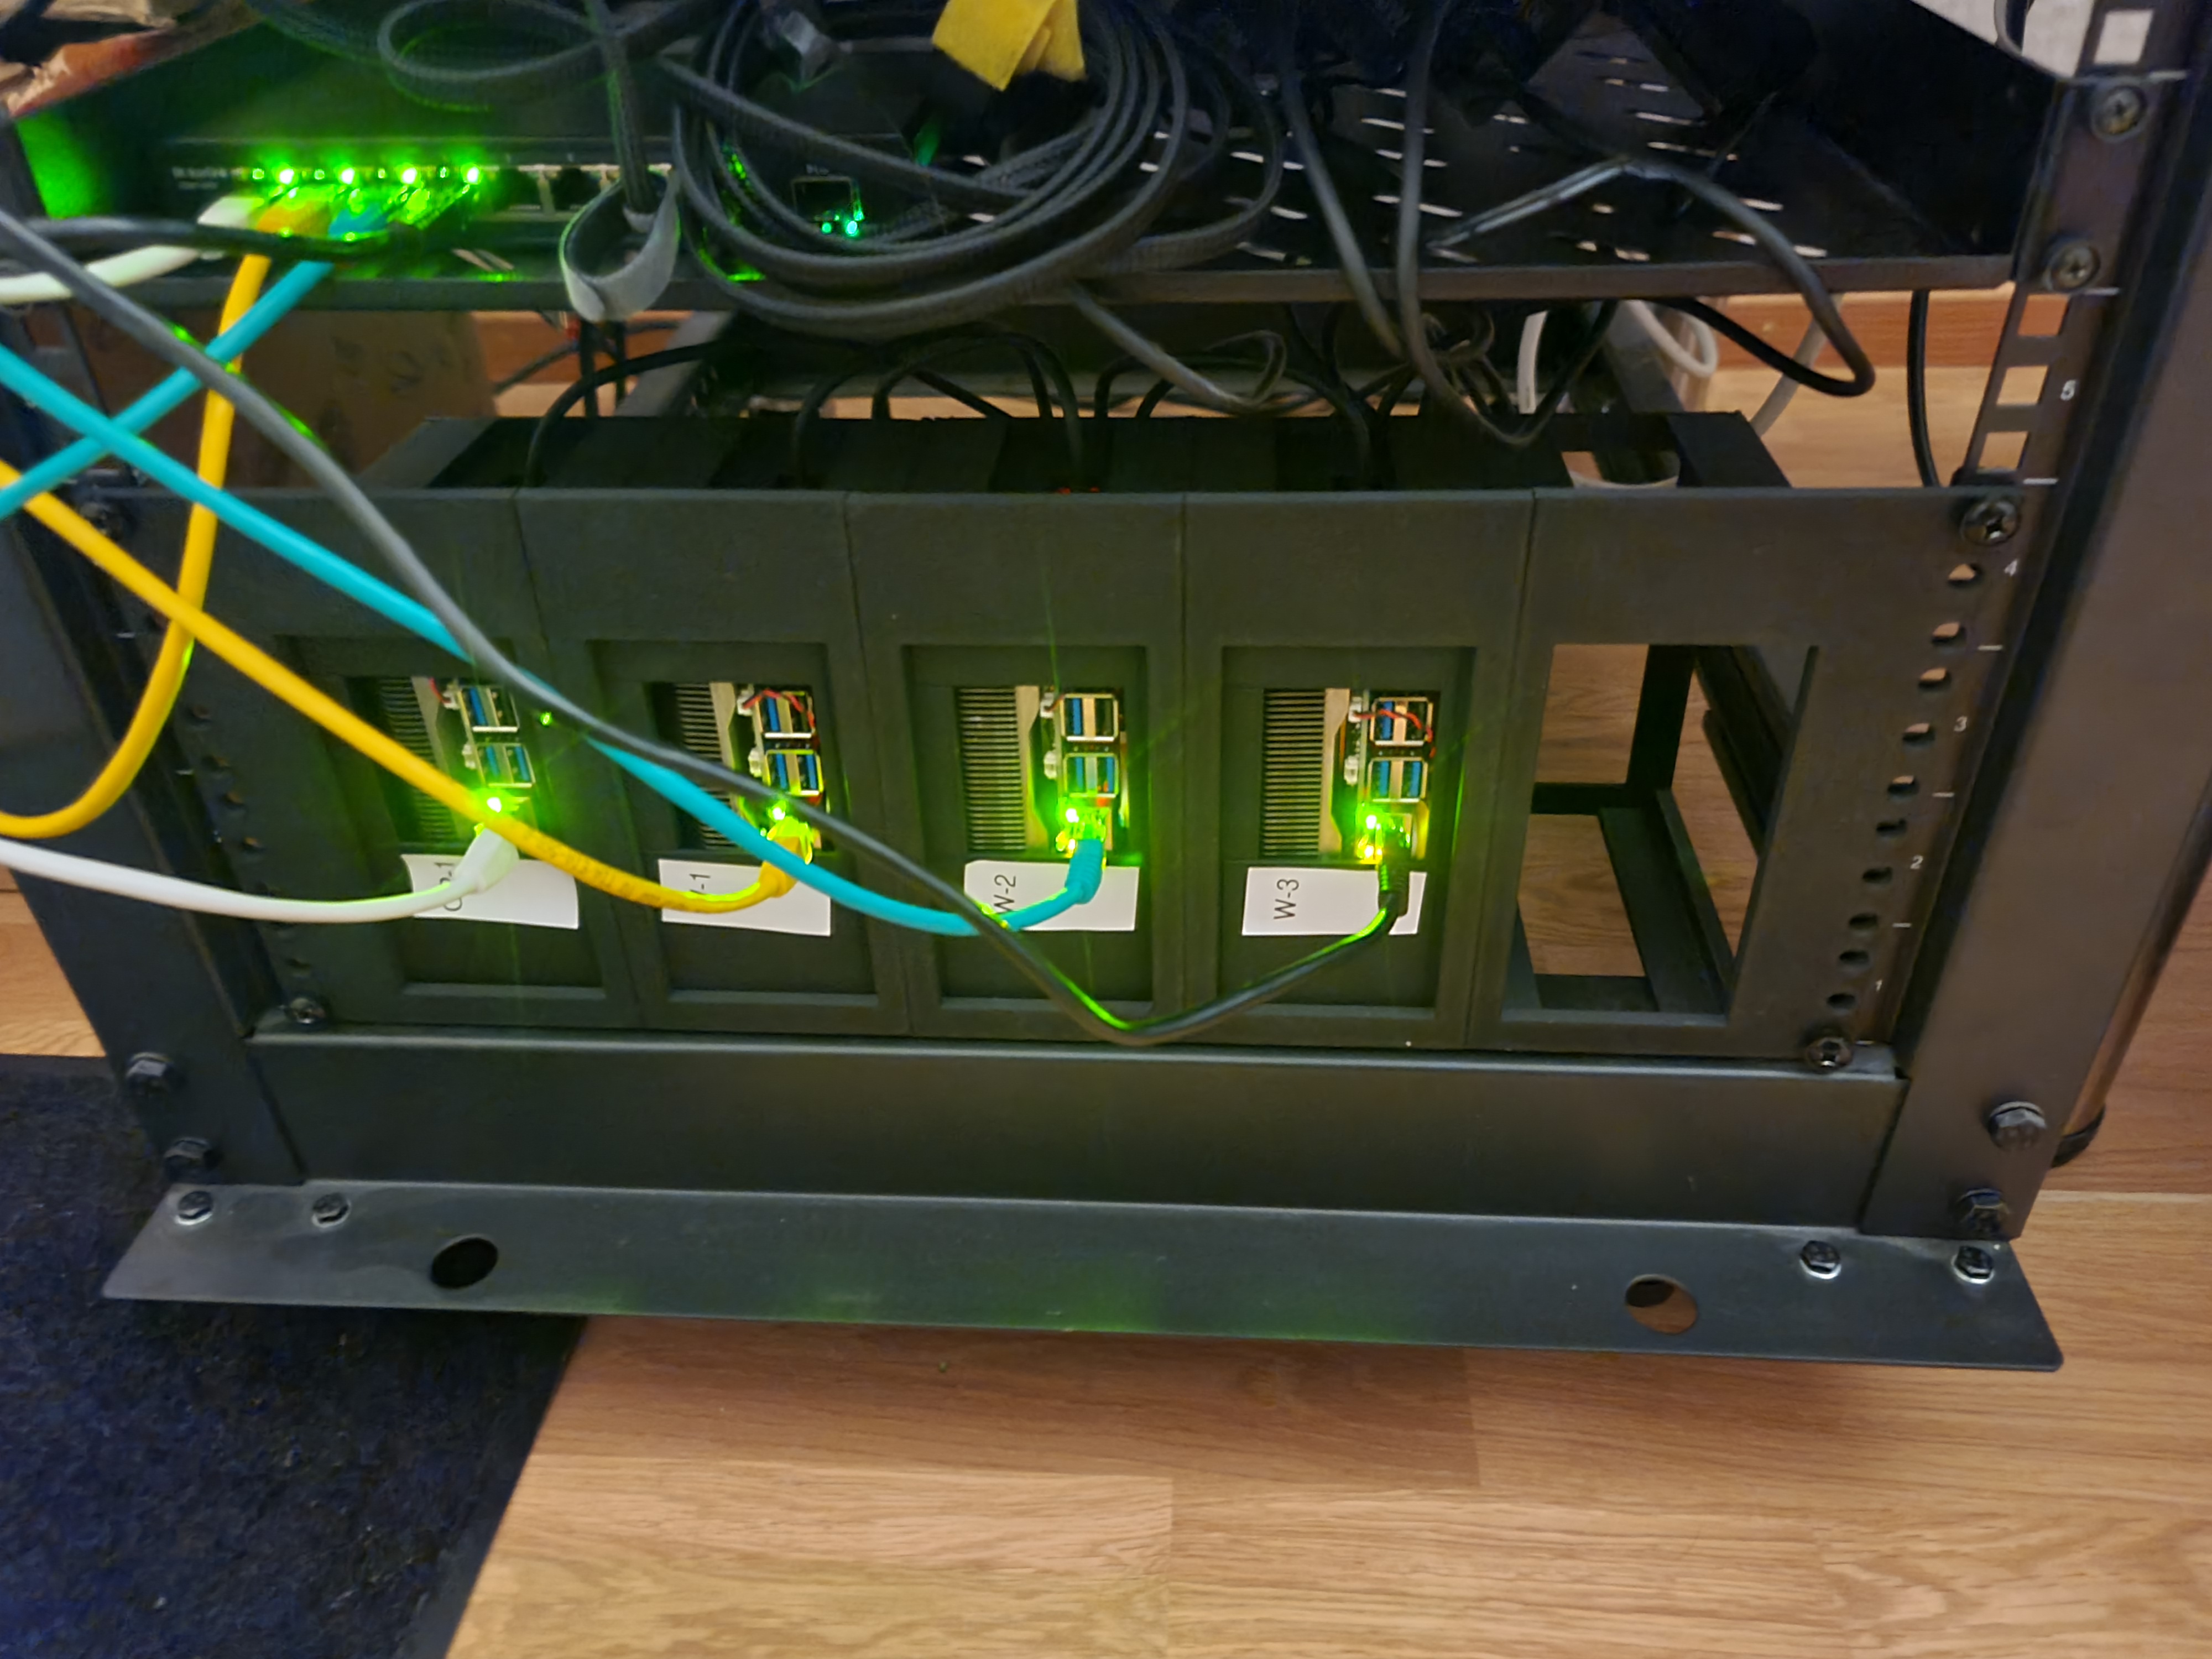
As a final step, I decided to mount the cluster in a rack. This is mostly for aesthetics and to have a place for them. The rack mount is designed to fit into a 19” rack and has a height of 4U. The mount can hold up to five devices. In theory the parts should be printed on the side for maximum strength, but I printed them flat. This makes them not as strong, but easier to print. Nothing broke yet. There won’t be a full assembly guide for the rack mount.

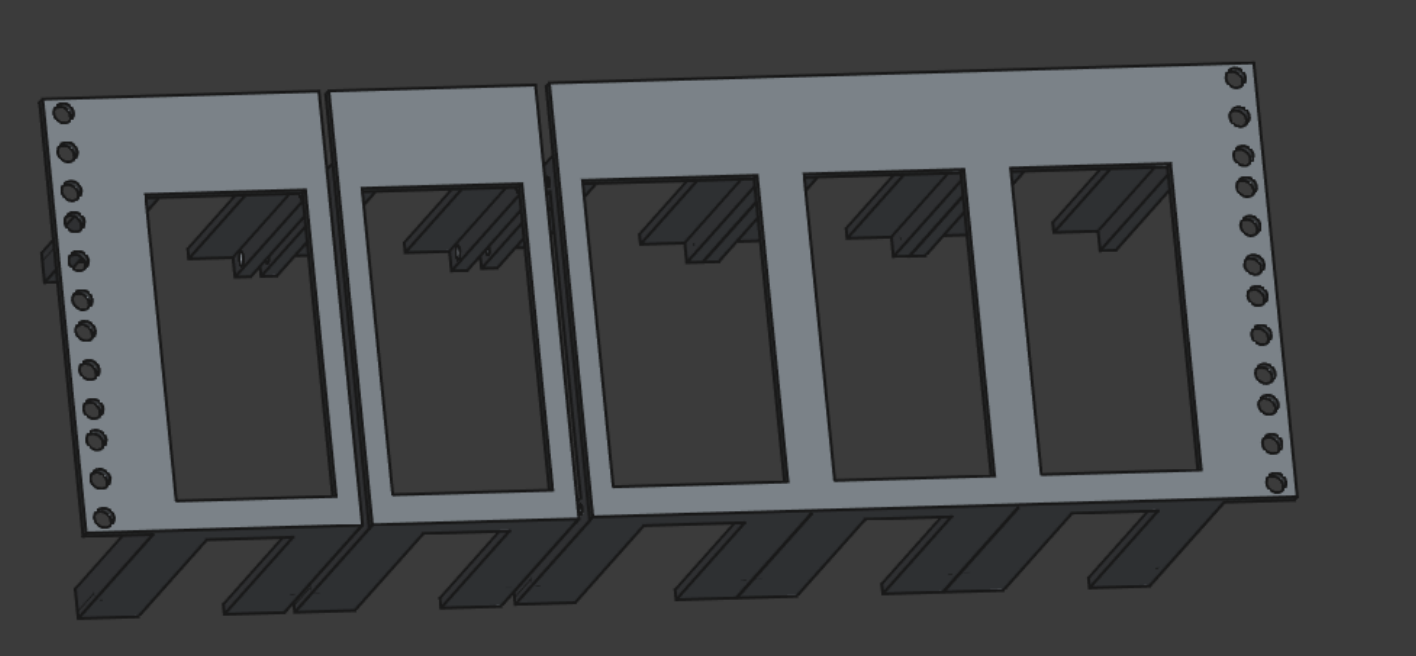
The parts
The parts were printed in PLA using a 0.4mm nozzle and a layer height of 0.2mm. The infill was set to 5%. Don’t waste too much filament on this, but make sure they are able to hold the weight of the devices.
Each center and the side parts need to be connected using heat inserts and countersunk screws. The same is true for the lid.

For the inserts I used M3 and M4 inserts, but depending on the tolerance of your printer one size should be enough. I used M3 inserts for the sides and M4 inserts for the lid.
The side
This part is for the left side of the rack mount. To print the mount, you need to print this one, mirror it horizontally and print the right side as well.
The center
This is the center. For a full rack mount, you need three of these.
The lid
This is the lid. You need one per device to keep them in place.
Epilogue
That’s it! The cluster is mounted, provisioned and ready to go. I’m planning on doing some projects with it, that’s why the posts were relatively short and not too detailed. I hope you enjoyed the build log and learned something new. Breaking things is okay and sometimes even necessary to learn.