Radxa X4 N100 Cluster Build Log - Part 3: The Case
Now that the heatsink is mounted and a fan connected, I need a case to tie it all together.
The targets for the case were:
- as few screws as possible
- keeping the fan central in place to push air through the heatsink and under the board, to cool the SSD a little
- have enough distance to the top / bottom to be able to add jumper wires to the gpio pins
- be able to pull cables out to the back and the side (for easier debugging and later cable management, when I get around to make it rack-mountable)
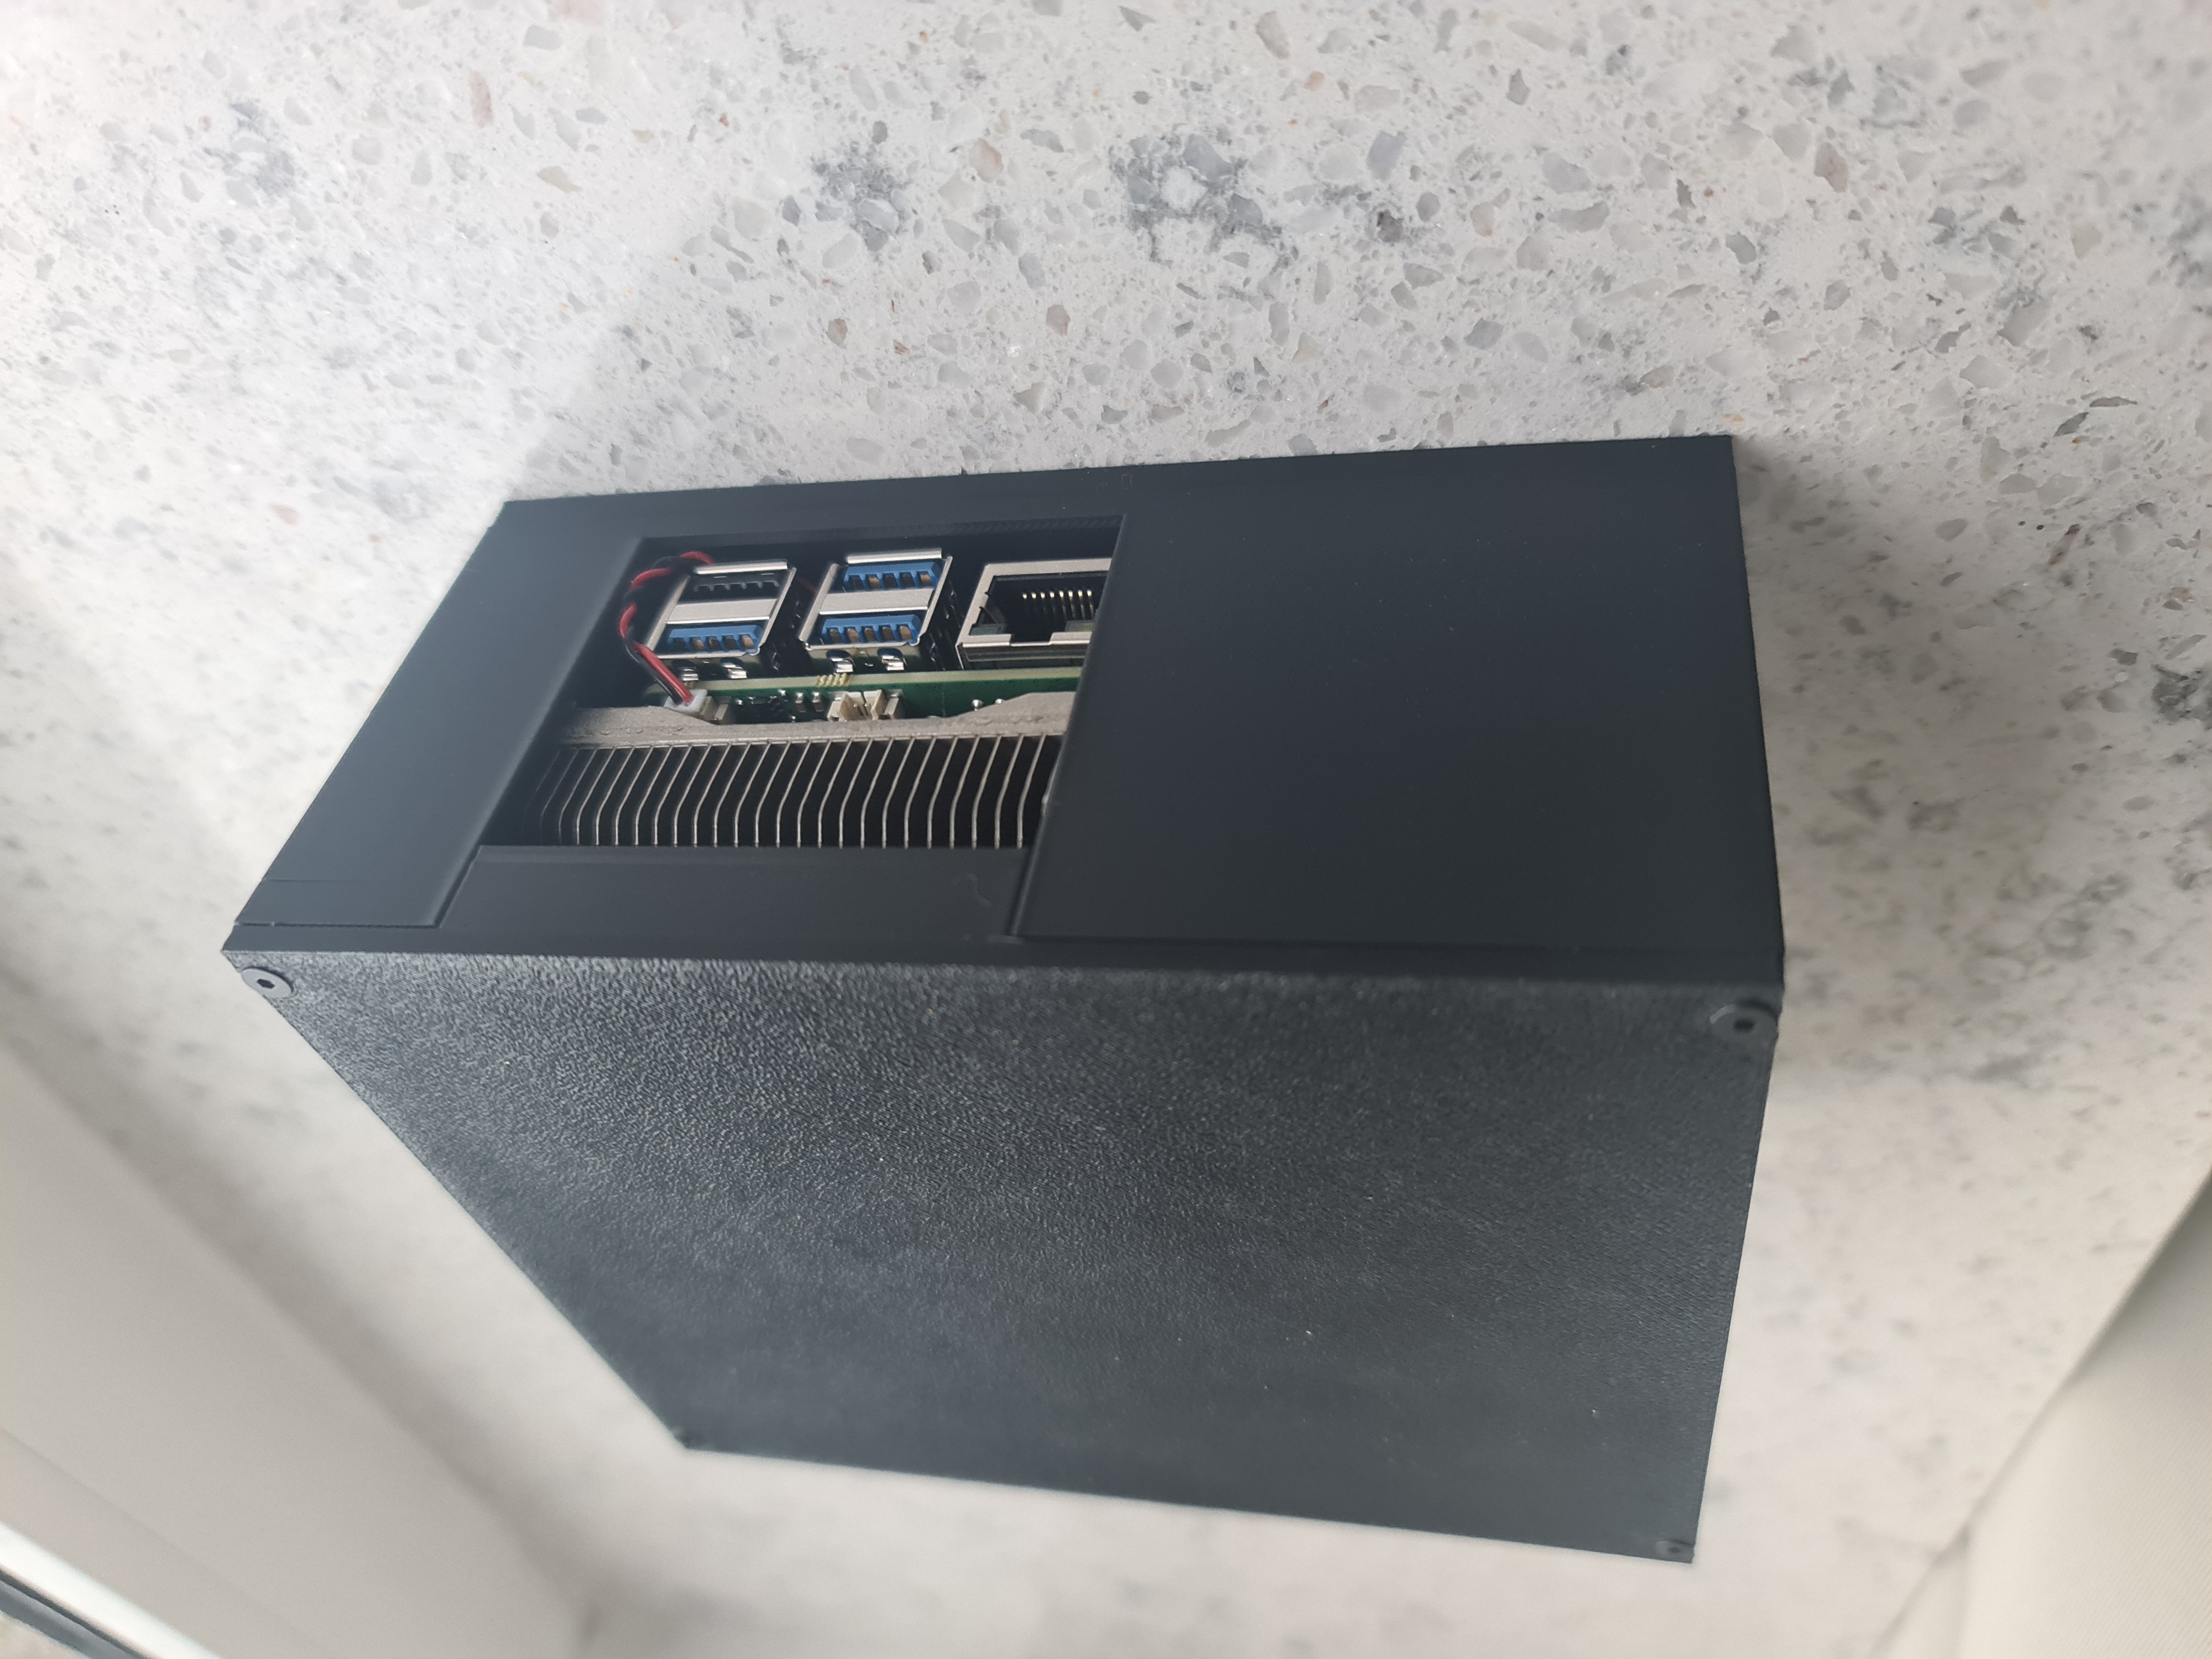
- the I/O ports should be accessible from the front
While I originally designed the brackets in tinkercad, I migrated them to FreeCAD and created the case there as well. Since this is my first time using FreeCAD, there are a lot of things to be improved, even just by looking at the project structure.
Keeping the board in place
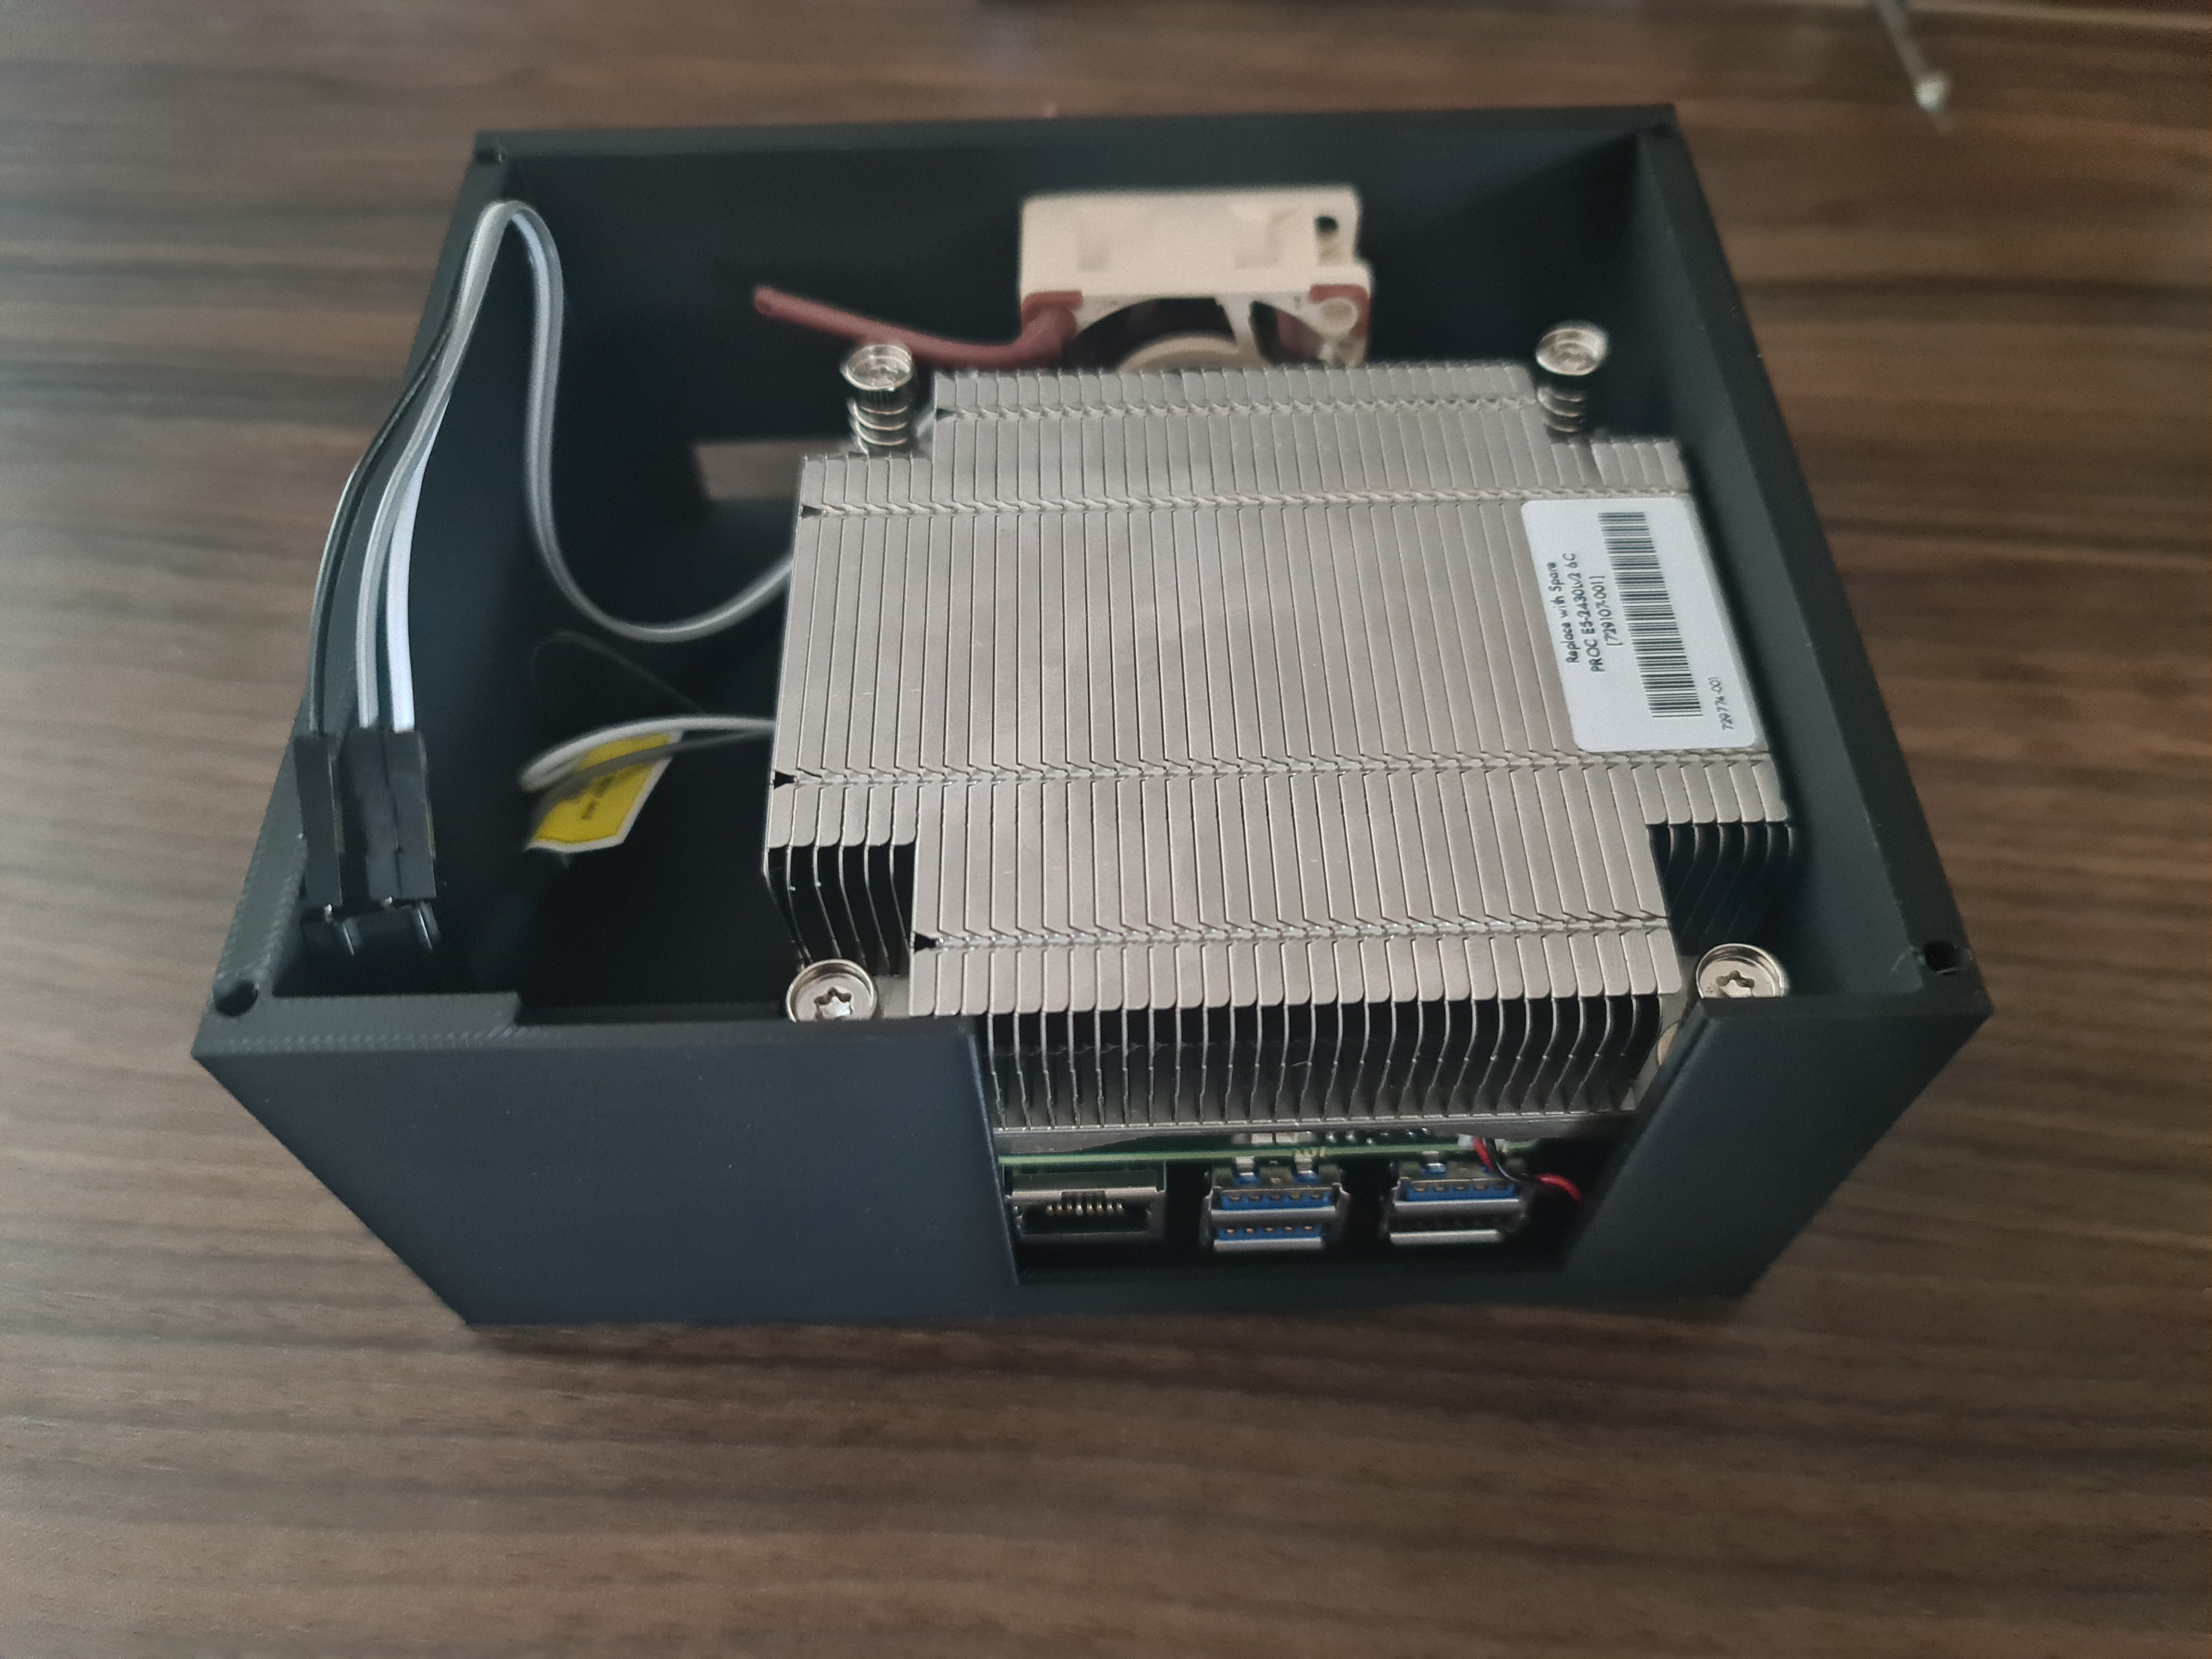
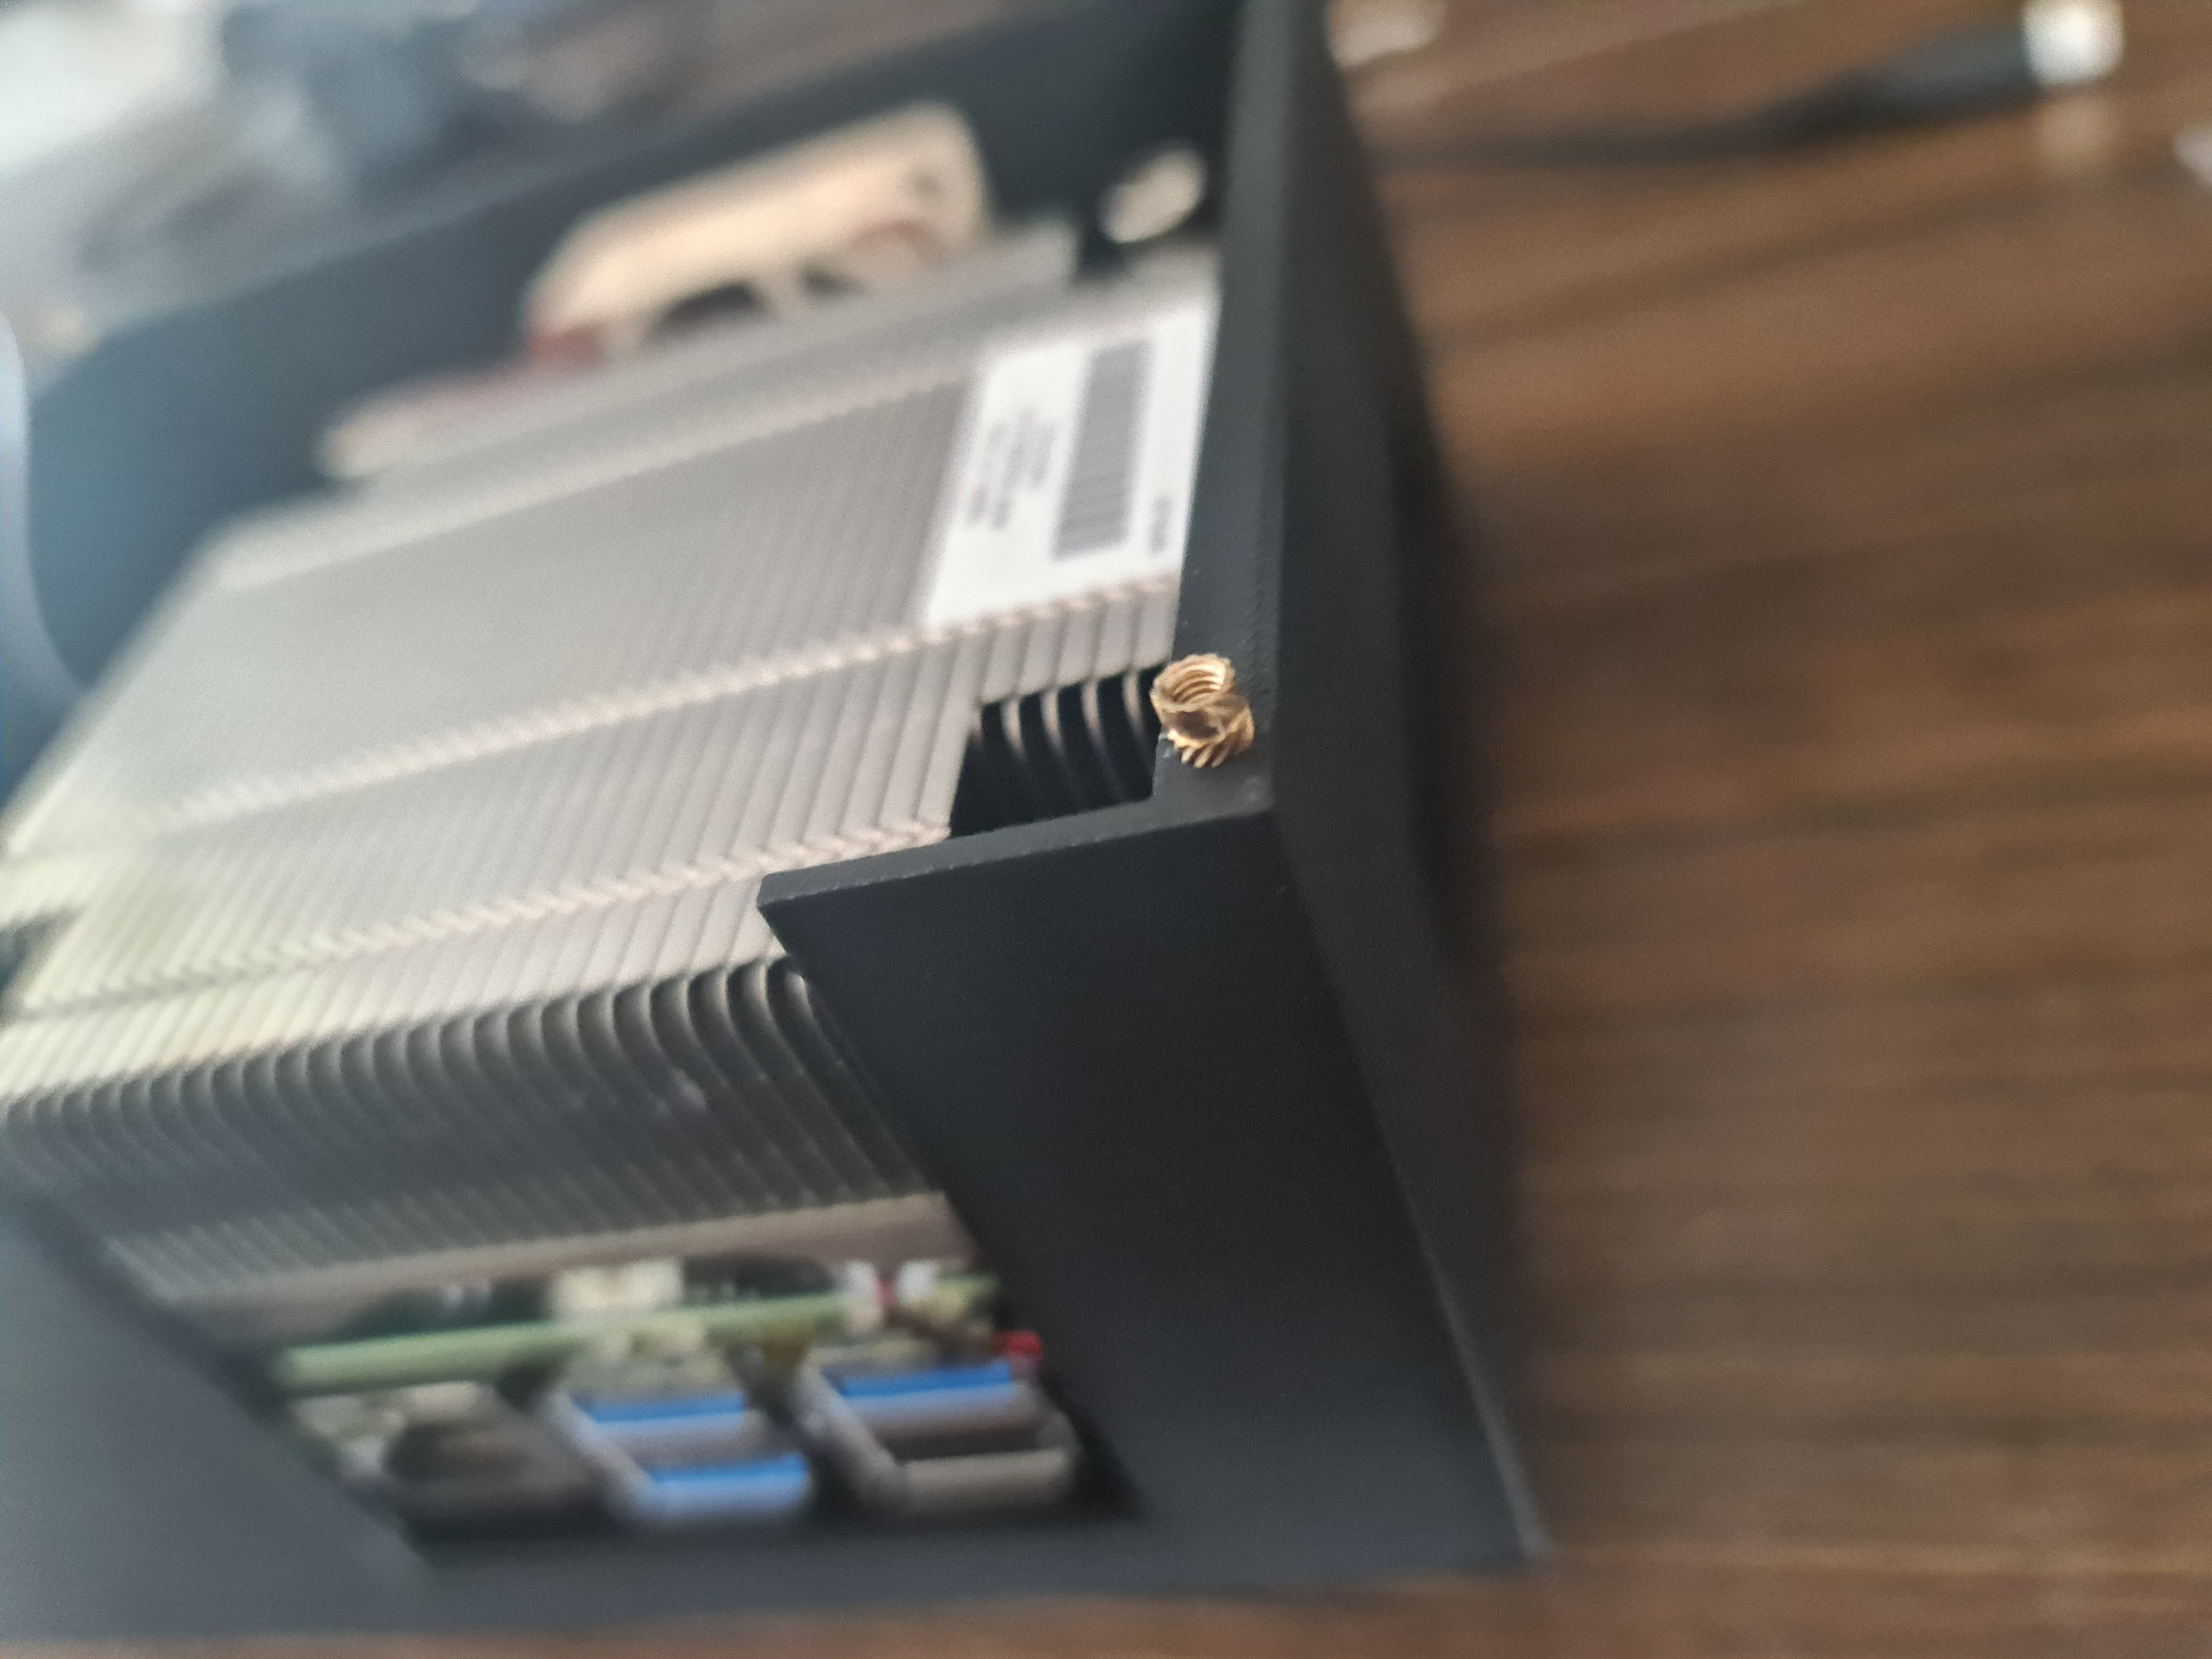
To keep the board in place I decided to use the geometry of the brackets in combination with some stilts and later a standoff block on the top, to prevent the board from moving around. This seems to work well so far and is great, because I don’t need any screws.
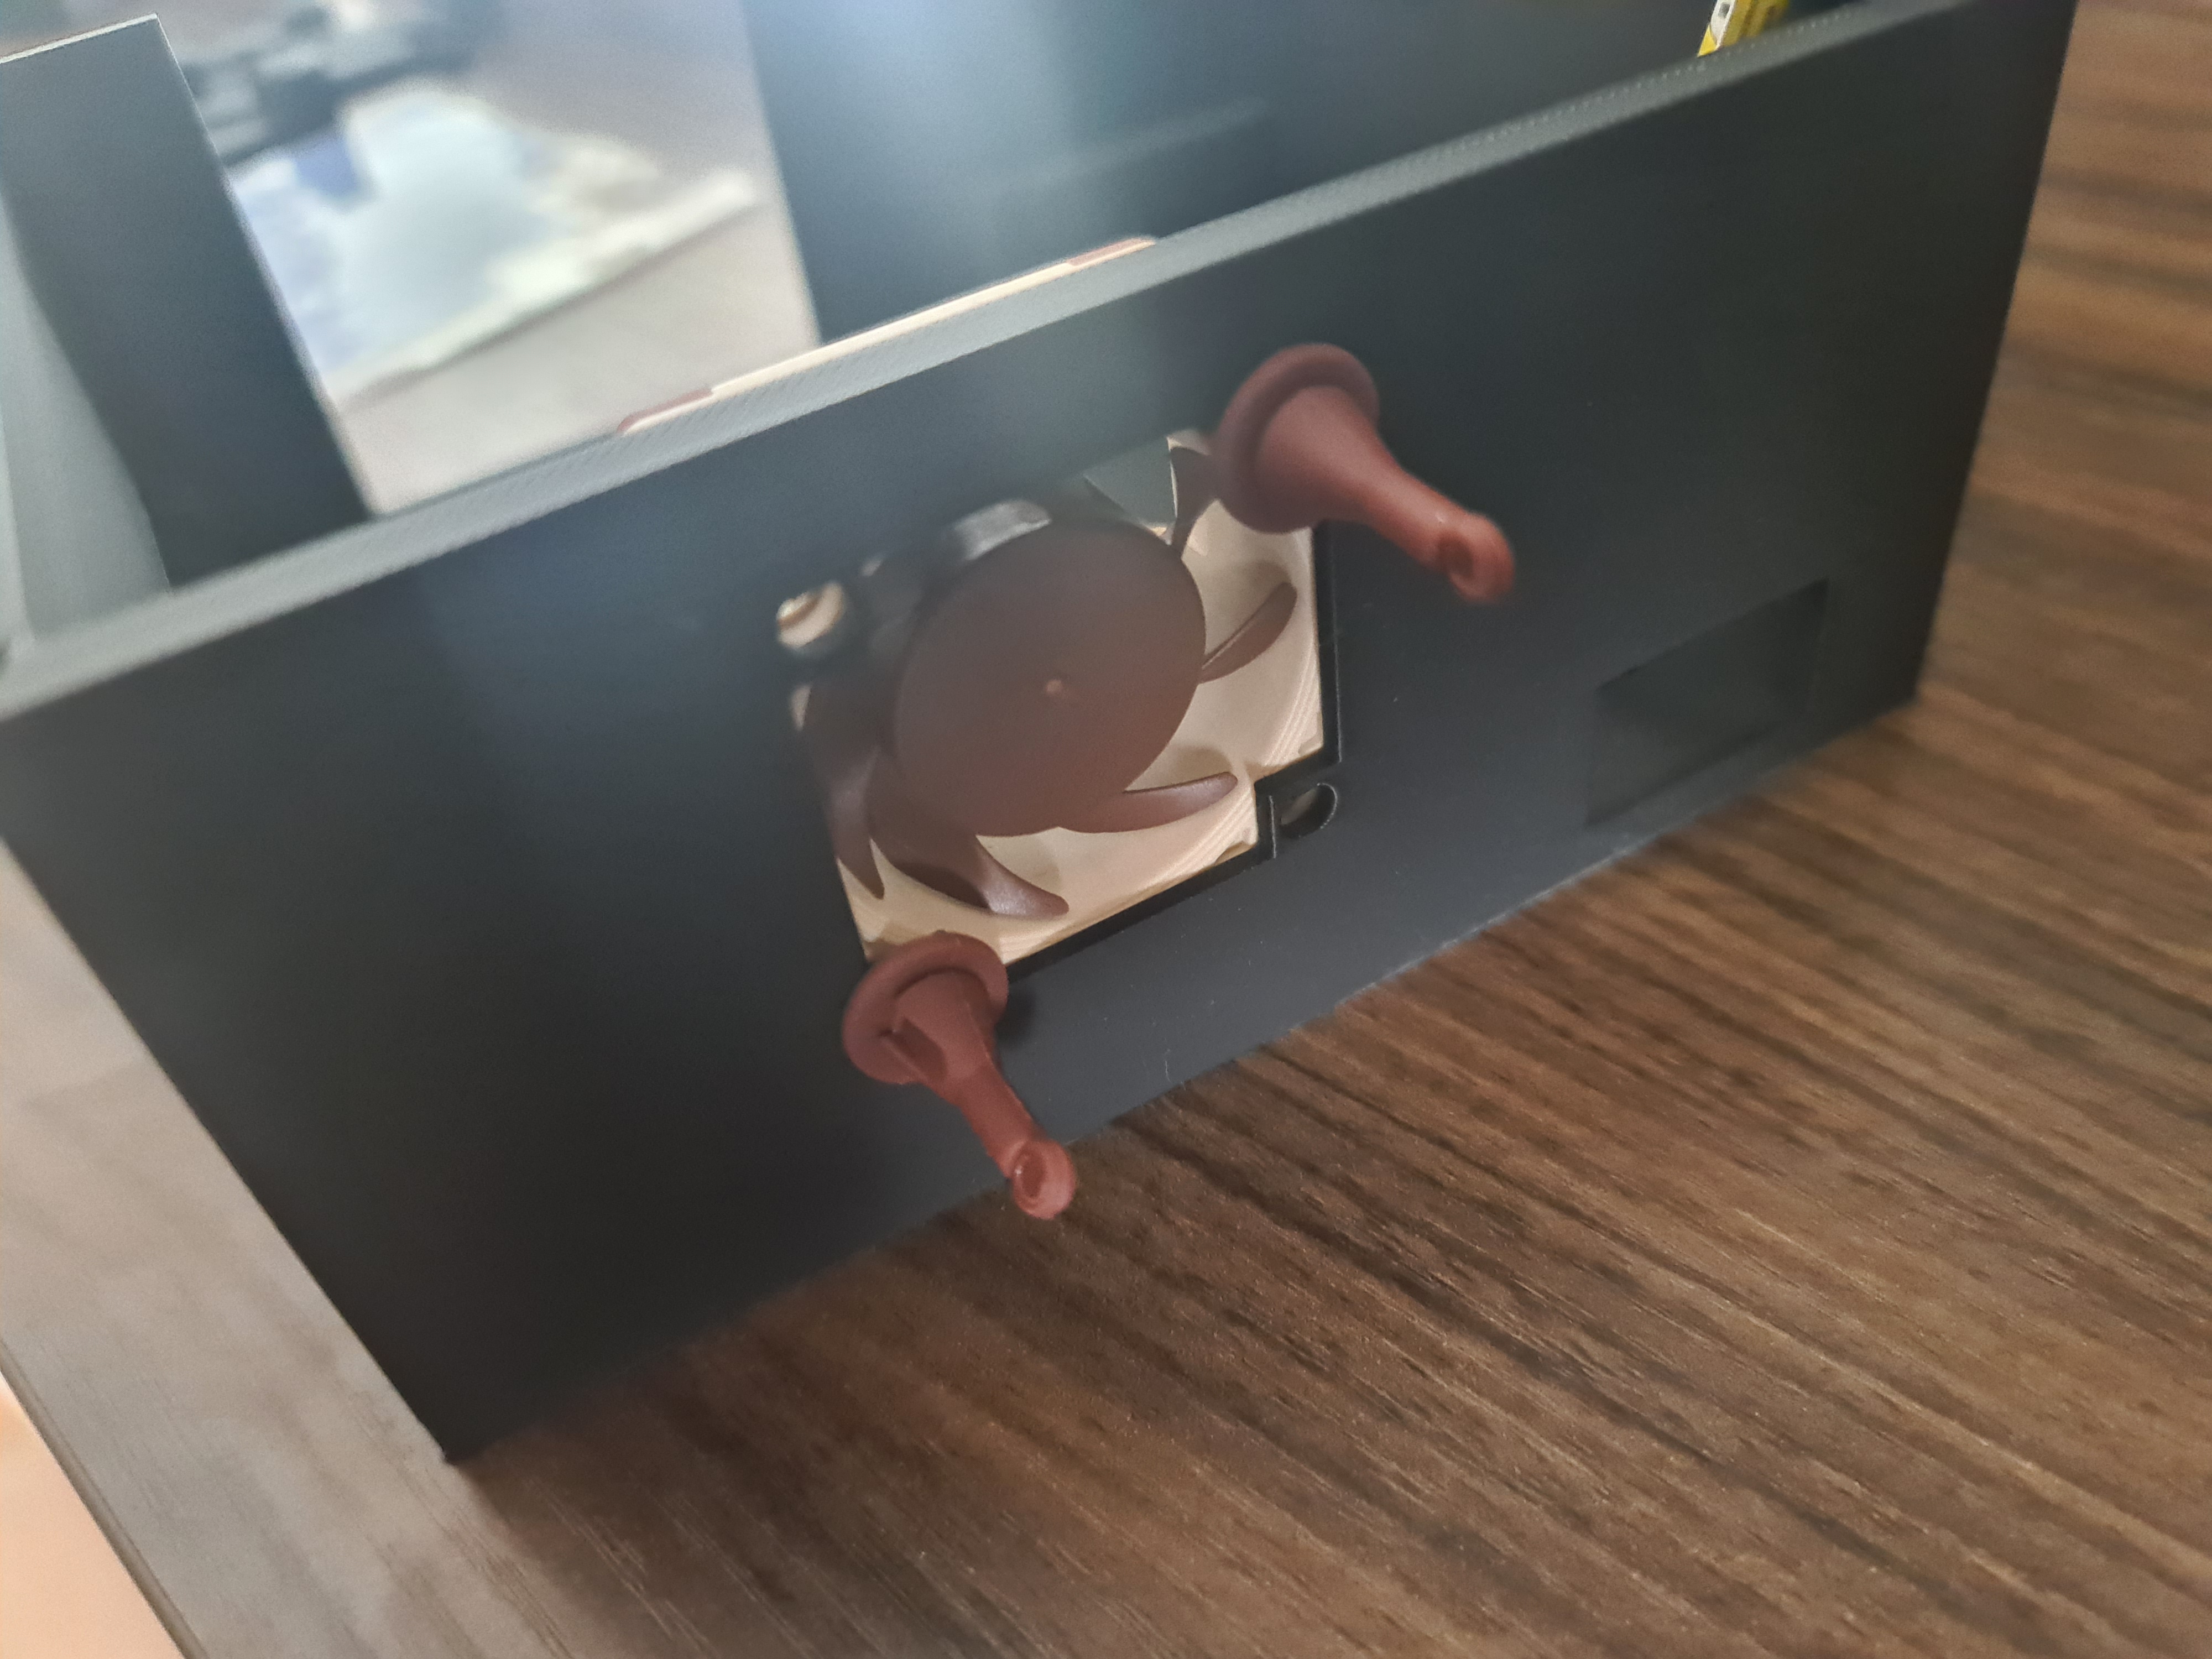
Mounting the fan

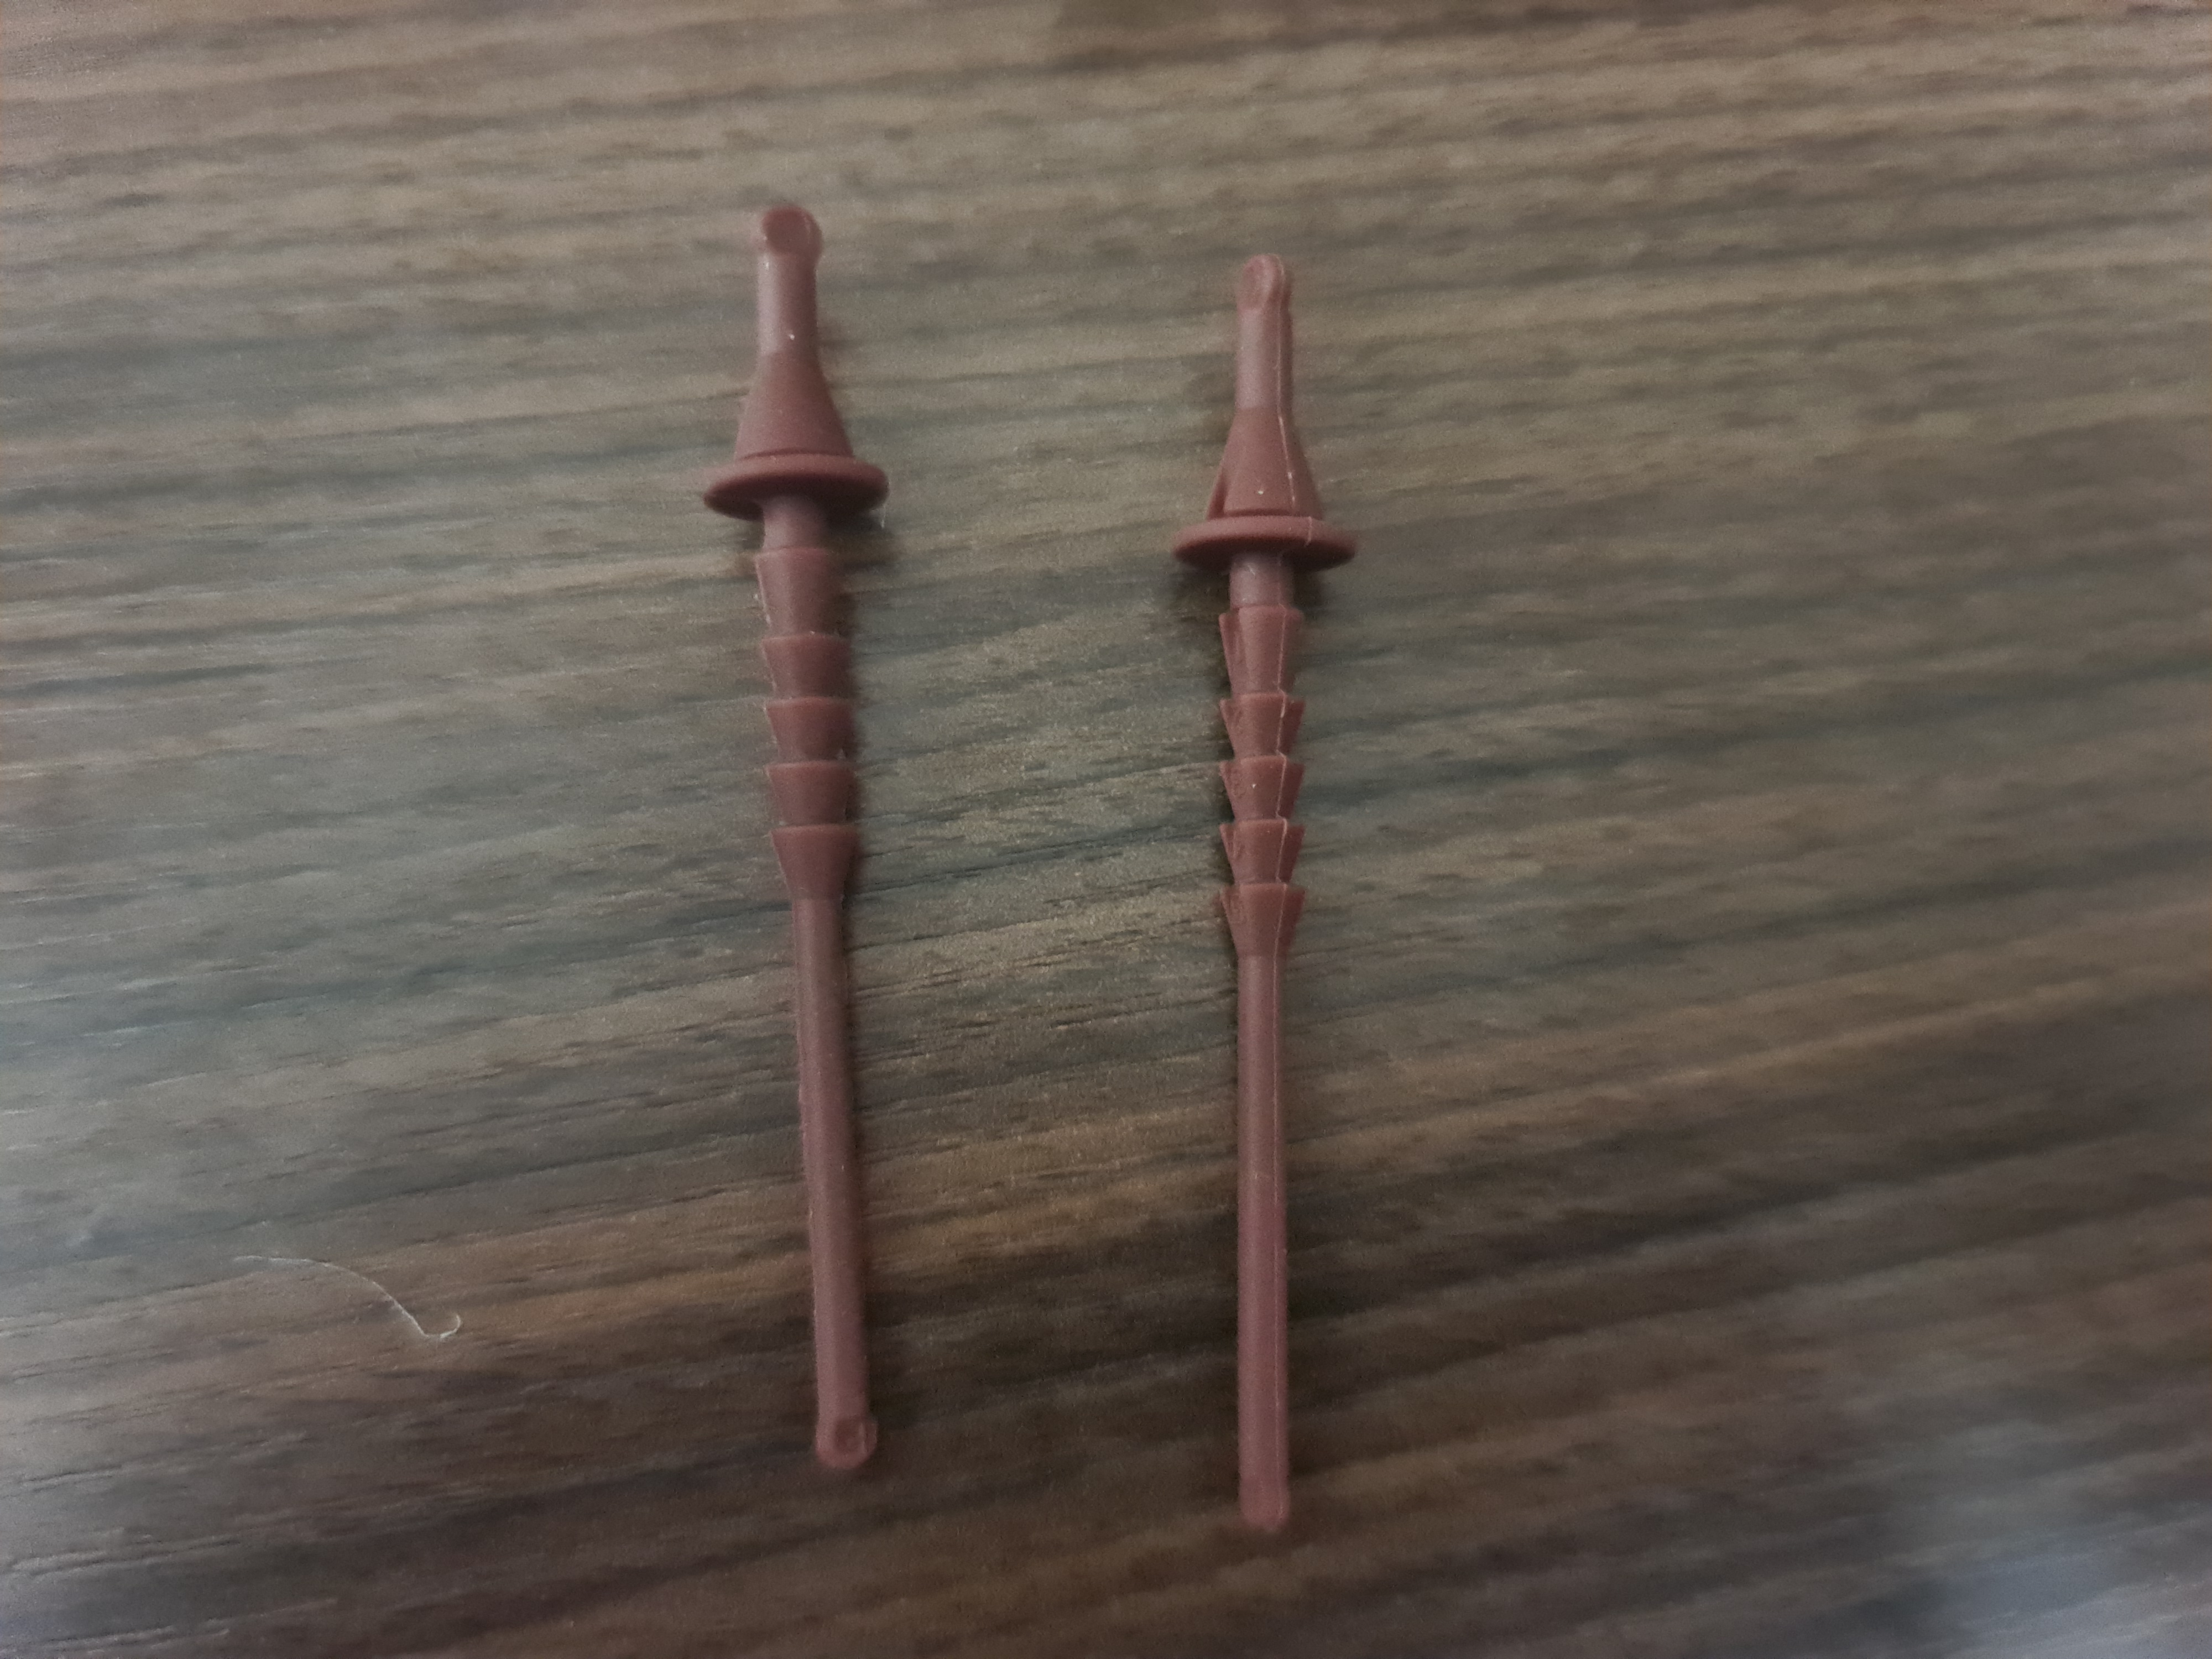
The fan is mounted to the back of the case using a few holes. They came out a little thin, but seem to hold up well so far. The noctua fans come with rubber mounts, which can be used to mount the fan.
Closing it up
The only part which needs screws is the top part of the case. This is to keep it tight and to prevent the board from wiggling. The top front is just to close it up a little and hopefully prevent some dust from entering the case. The heatsink is exposed to allow the air from the fan to pass through it and dissipate the heat.
Improvements
There are a lot of improvements that can be made, but I will leave that for another time. Here is a small list of annoyances I have with this design:
- part of the front wall might be a little thin
- the case is a little tight (not necessarily a bad thing, but taking the board and fan out and putting it back in is a little annoying)
- the power on button is on the back of the board, which means it is not accessible; there might be a few clever ways to build a button into the case, but since the device powers on by default, this might not be necessary
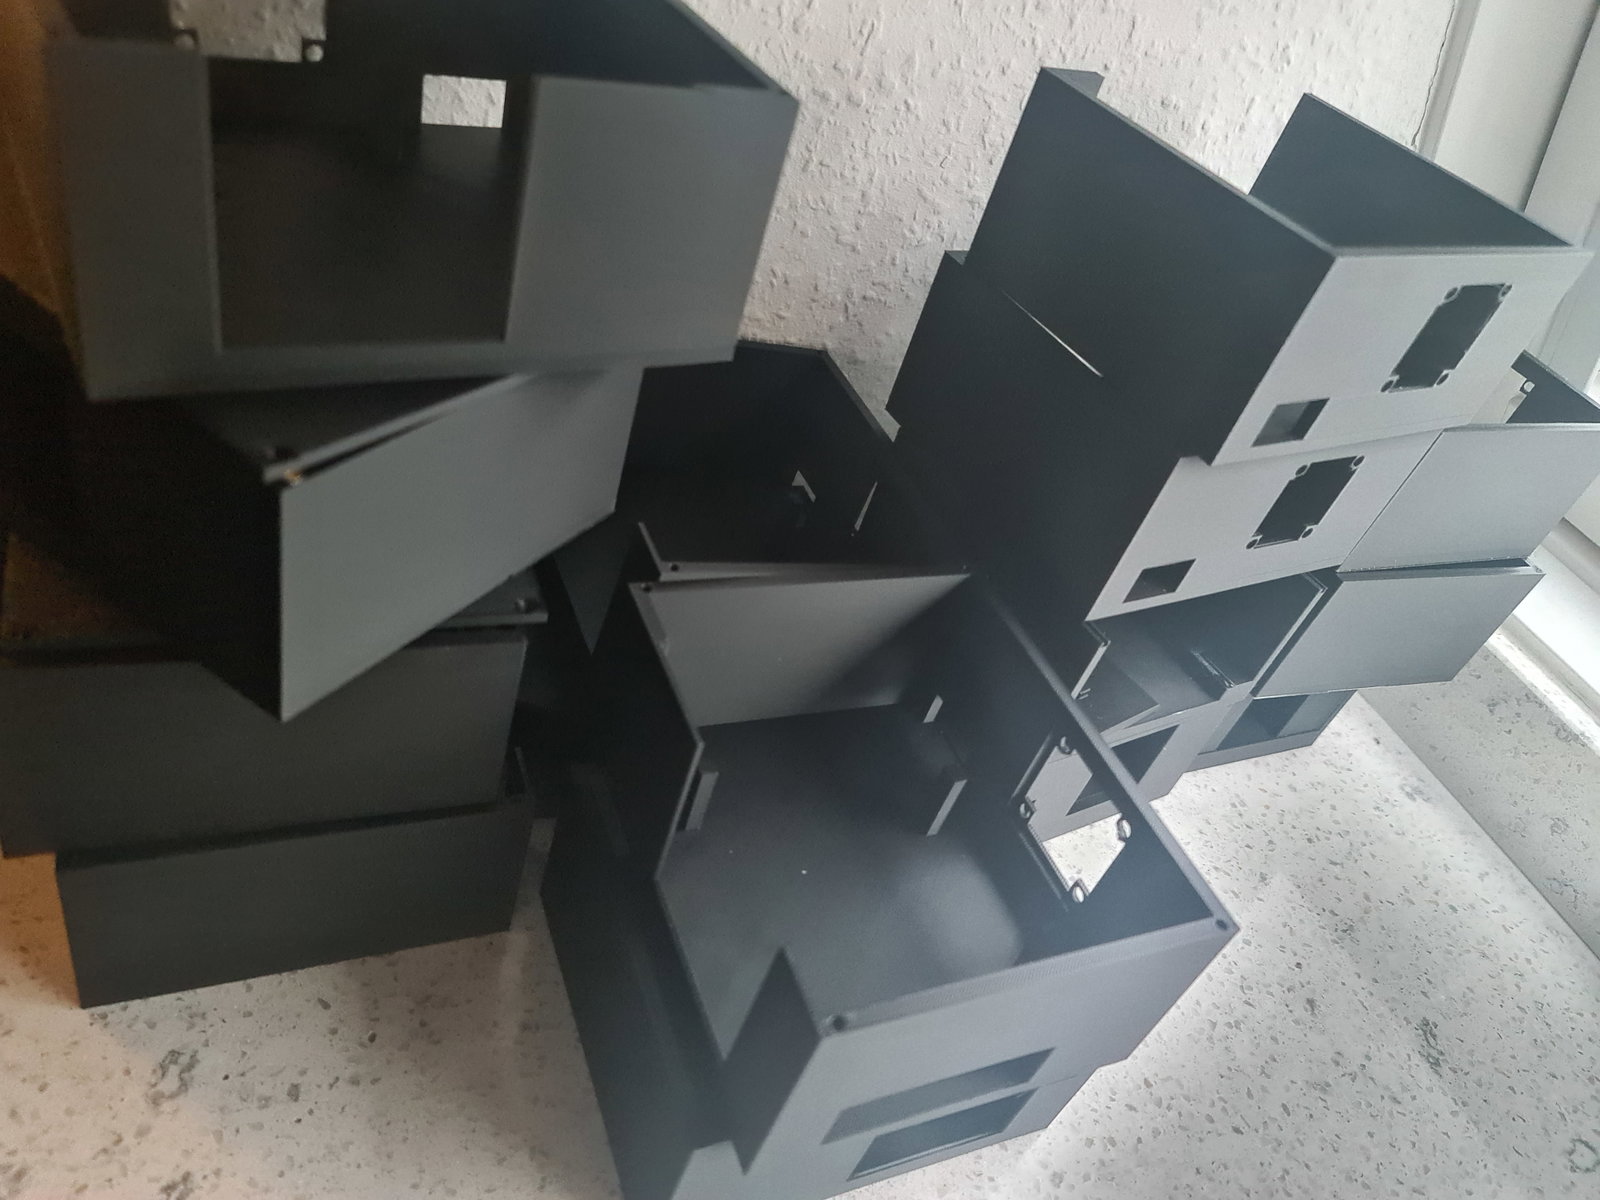
This also took quite a few attempts to get right, so I will not be doing this again any time soon.
Next steps
The STL can be downloaded here https://github.com/0xC9C3/radxa-x4-cluster.
The next post will be some benchmarks to see how the cooling performs. Afterward, if everything is fine, a full step-by-step assembly guide with pictures for the heatsink and case.
Then it is finally time to test drive the cluster and see how it performs.
Next up: Part 4